I bought my Dad the ‘Academy 1/700 R.M.S. Titanic “Centenary Anniversary” MCP Model Kit’ a few years ago for Christmas. We have now started building and painting it. We’ll light it with LED strips and maybe Fibre Optics if needed.
As we build the kit we keep thinking about how horrific it would have been to be on board when the Titanic sank 🙁 . I keep thinking of the scenes in the Titanic movie too.
A review of this model kit is here on the 2modeller.com website. It’s not a bad kit, especially considering it is 1/700. I think I would prefer to do a 1/400 Titanic kit build though – it would be easier to paint and add all the fine details properly, but this 1/700 kit is still a lot of fun.

[I’ve included a few Titanic model build videos I’ve been watching on YouTube. They are towards the bottom of this blog post.]
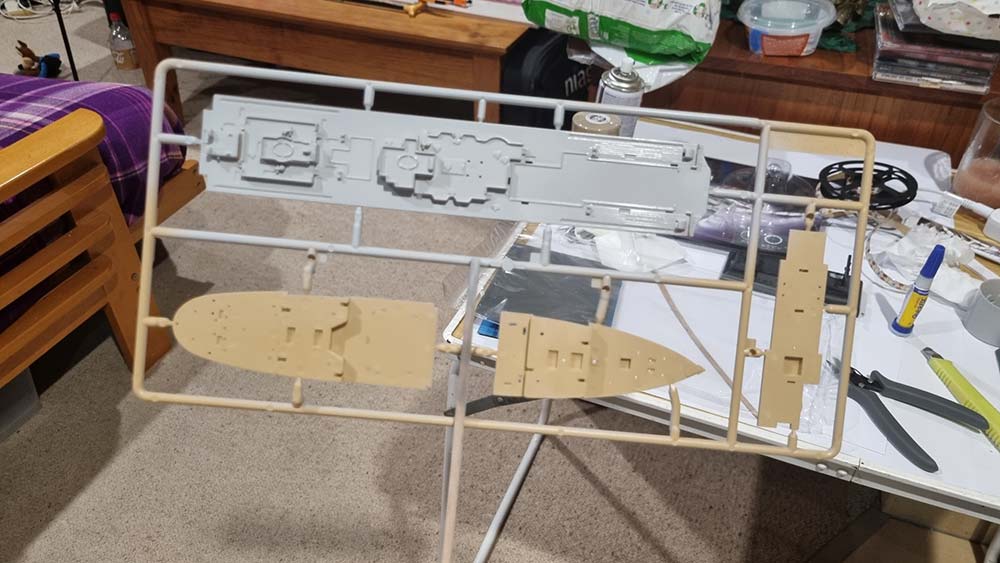
The parts in this kit fit well together. It is an MCP (Multi Coloured Parts) kit, so would be pretty easy for a beginner modeller to put together and still end up with an okay-looking model. The colours would be wrong though. The Decks and the Funnels especially. The Funnels were ‘yellow-buff’ colour. info about this is here.
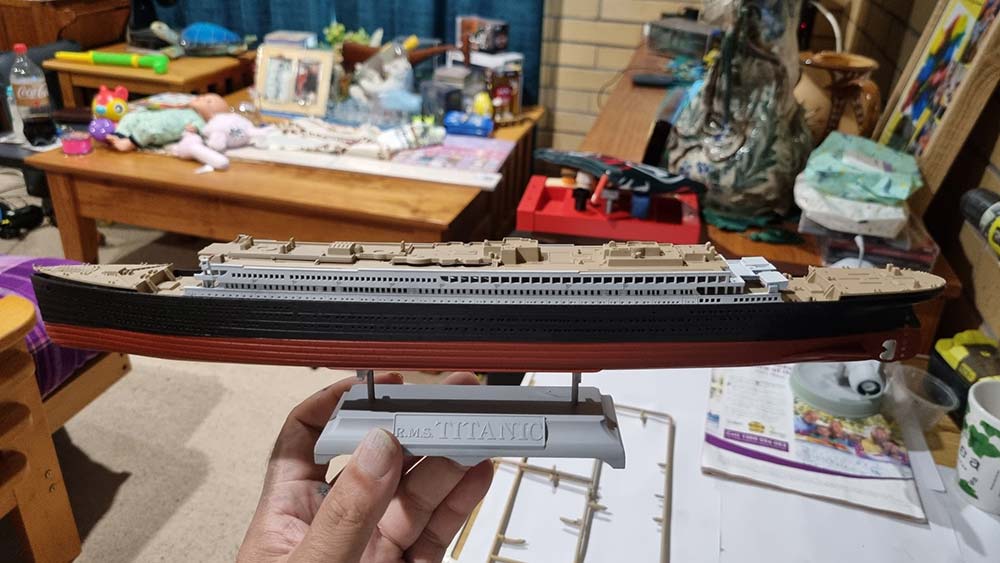
If you were to assemble this kit without painting, it would look like this (note: you would still need to paint the ship name on the base).
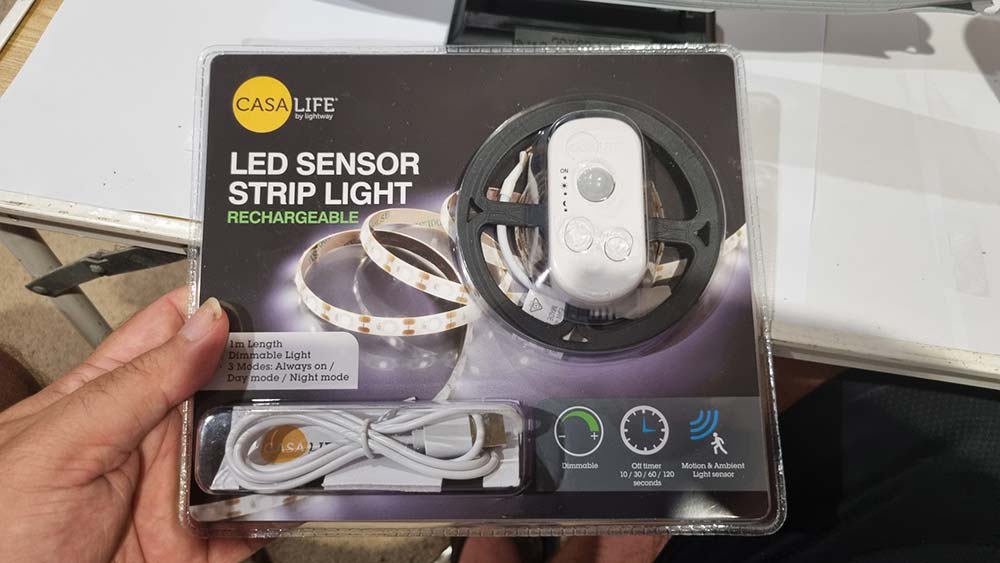
The kit has provision for lighting. We won’t need to drill many holes to run wires, nor cut much plastic or do much (if any) scratch building, etc. You can buy a version of this model kit with the lighting in it, but we’ll use our own methods and parts instead. I picked up a cheap LED light strip from Aldi the other day. It includes a dimmer switch and a ‘motion sensor’, so the lights will turn on when you move past it. We’ll use that as the starting point for the lights. We may also need to make some defusers and a few other things to get it looking ‘just right’.
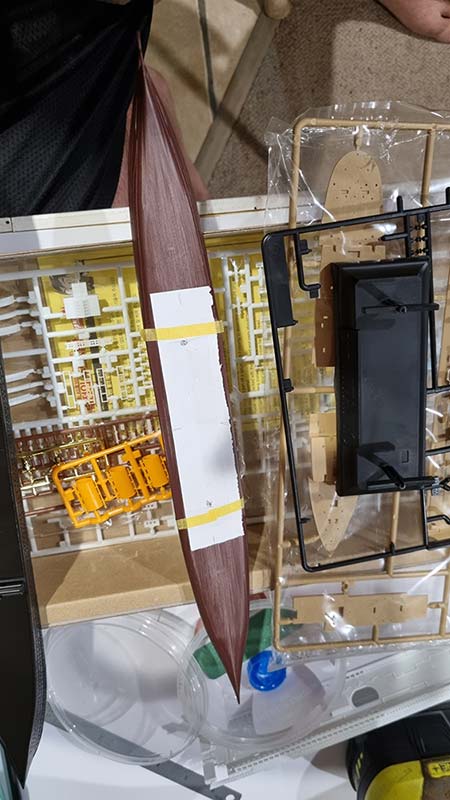
My pet-peeve with the model so far: The moulding of the kit does not easily allow for the yellow/gold pin-stripe around the hull to be added. If I try and do this, it’s not going to work well. I’m disappointed about this. It would take a lot of plastic removal from the top of the hull to get the area flat, in order to then mask the pin-stripe to paint it… and/or make a custom pin-strip decal and have it ‘sit’ correctly. Atm we’ve decided to not include the pinstripe. I may yet decide to shave off the hull moulding where the pinstripe is to go, and paint the pinstripe. I do like detail and accuracy.
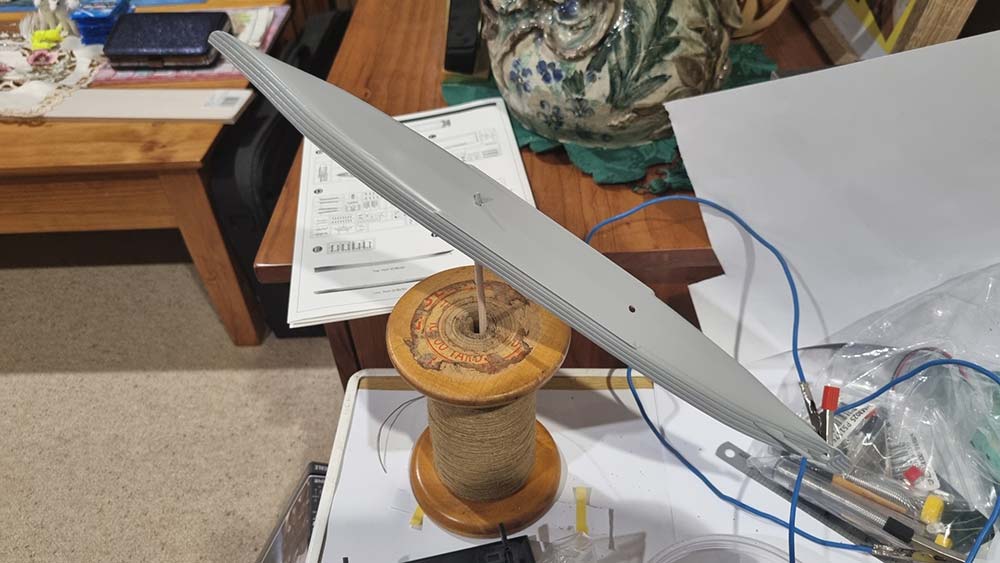
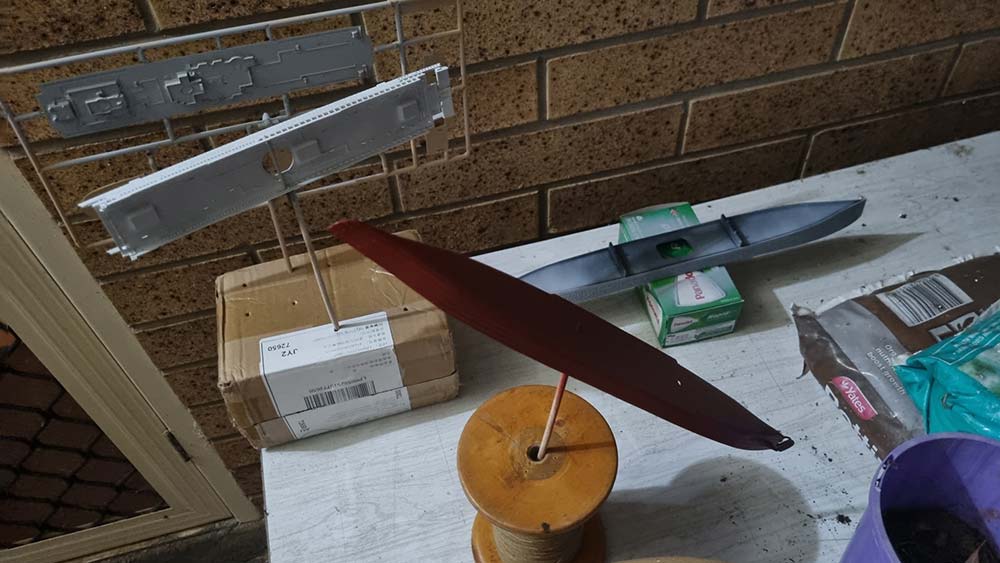
I’ve included some progress progress pics of this project below. I’ll create a video for YouTube once the project is finished too.
We’ll build a dust cover/ display cover and timber base for this model. We’ll house the lighting batteries under it and a switch on the side.
We’ll probably follow Adam Savage’s tutorial when making the dust cover:
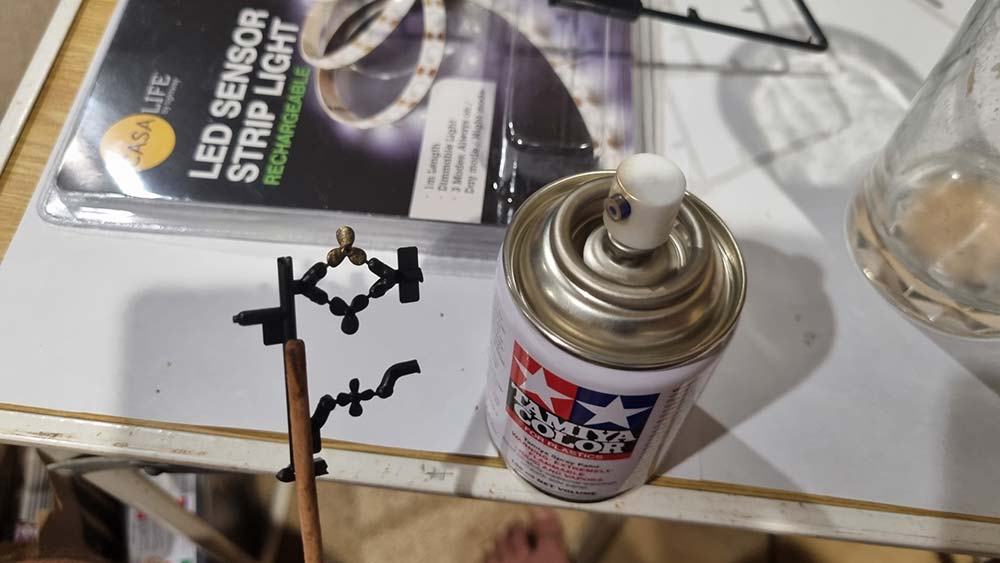
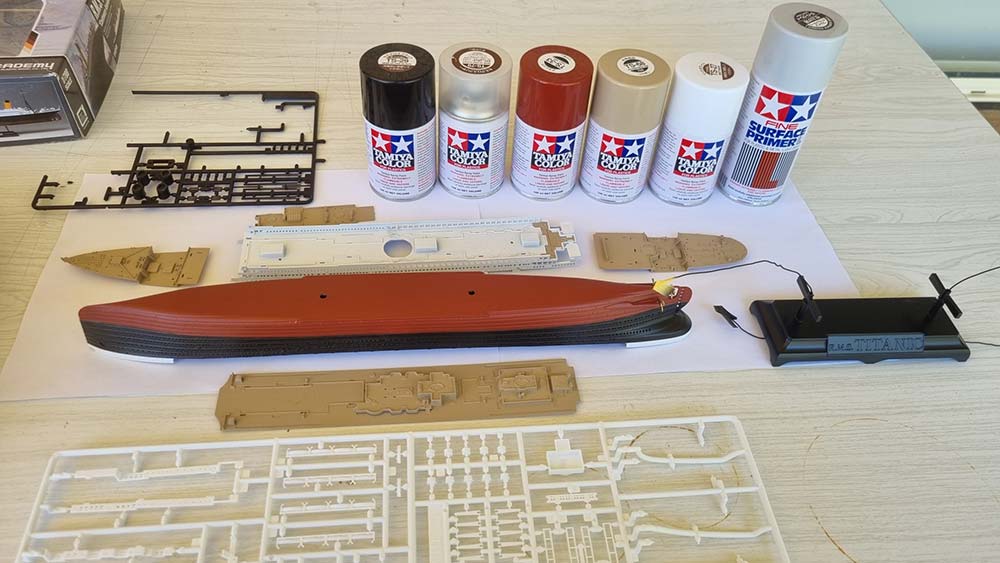
Here are some pics of our progress so far:
These 2 videos were very interesting:
Here are a few videos of people who have made or spoken about the 1/700 model kit:
Some other Titian models people have made that I have found on YouTube. There are heaps of others on YouTube as well. These are all larger scale than 1/700:
https://www.youtube.com/watch?v=kHQ4VBv7nN8

I spotted these other Titanic model builds that use resin the other day too:
Update 3/04/24: I came across this video today. Found it very interesting: