I always liked the look of the Power Loader from the Aliens movie. The scene with Ripley fighting the Alien Queen was of course extremely epic! I’ve included a few scenes from the movie towards the end of this blog post.
An old work-mate of mine used to have a model of the Power Loader in his office years ago – it was a great model and he painted it really well. He was an Animator. I always admired that model.
I hoped that one day I would make a model of the Power Loader. At this stage however, I don’t want to buy a kit or scratch-built one purely with Styrene. Only because I don’t have time right now.
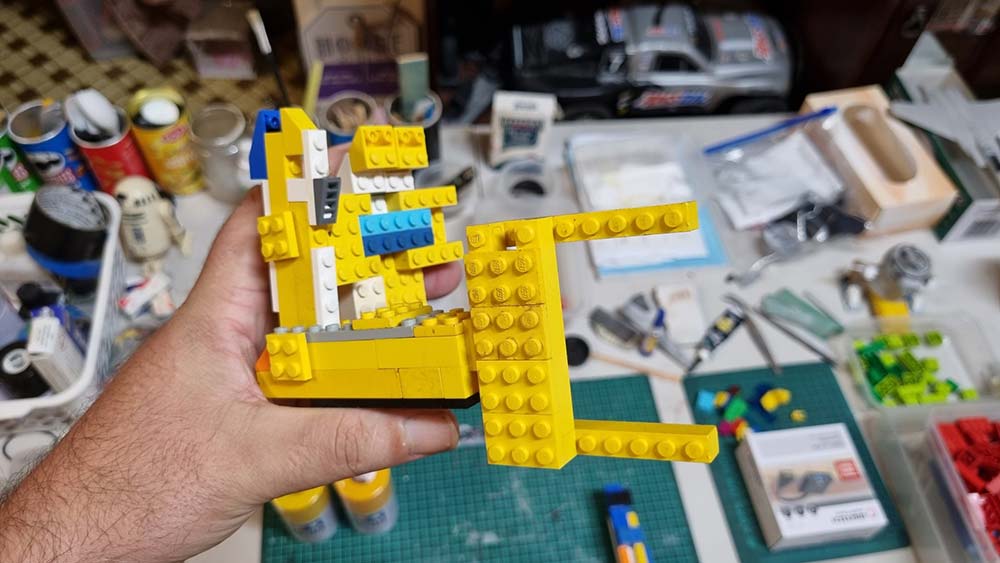
I was recently given some old Lego bricks though… and started playing with them. Very good fun 🙂 . There were no ‘Lego Technic’ bricks or Bionicals or anything like that. Mainly they were/ are just basic bricks.
So I thought I’d set myself a challenge:
- Build the Power Loader only from these bricks
- I am allowed to invent my own joints, that don’t follow the ‘rules’ of joining Lego pieces together.
- I can file and cut some Lego bricks, BUT only if I really need to
- I can use Superglue/ CA Glue.
- Later on in this project, I can scratch-build other details that aren’t made from the Legos – eg. hydraulics, hoses, the cage, etc.
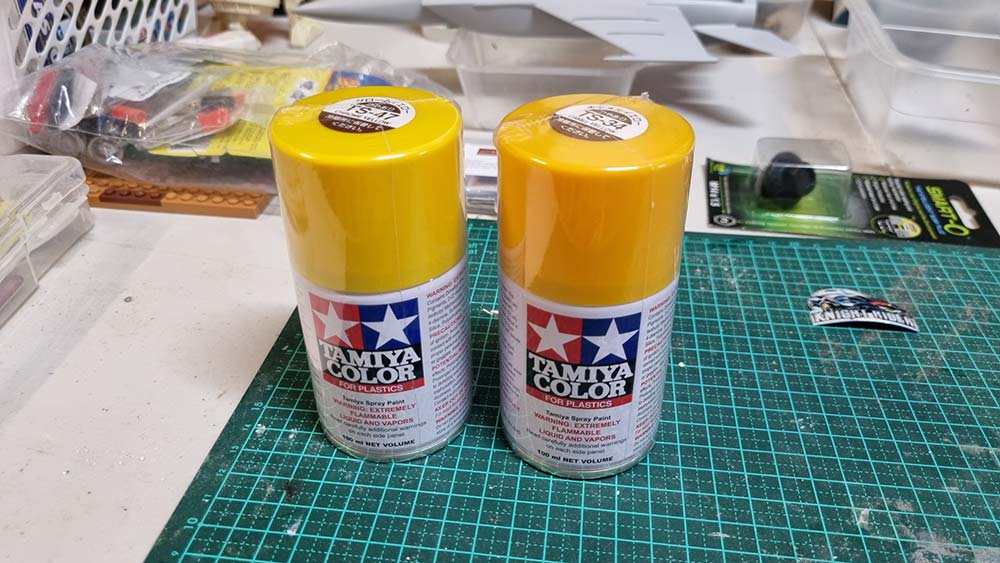
I didn’t have enough yellow bricks to make the entire model yellow, so I have used other colours as well. I will paint the model once finished.
I’ll shoot some quick videos showing how I made some of the joints soon too and add them to this blog post too.
Once the model is finished, I’ll then pull parts of it apart, then record videos showing how I assembled them. Then I’ll edit the footage and progress photos into one final full video for YouTube. A step-by-step video, split into 3 chapters:
- The first chapter will show how I made it from Lego.
- The second chapter will show me scratch-building details to it using Styrene
- The third chapter will show the painting process, adding decals, weathering, etc. I’ll be CA Gluing this model together before painting it. I’ll have to custom-make the decals.
The finished model will be an ‘artistic representation’ of the Power Loader, vs an accurate model.
I may even add some lighting. I’ve seen some great models people have made of the Power Loader on YouTube. I’ve included some below.
This Lego Power Loader is proving to be a VERY fun little project! 🙂
Side note: I’d luv to make an animatronic version of the Power Loader one day. I also watched the lads at Hacksmith Industries make the full-size functioning Power Loader in recent years. I’ve seen some Power Loader costumes as well.
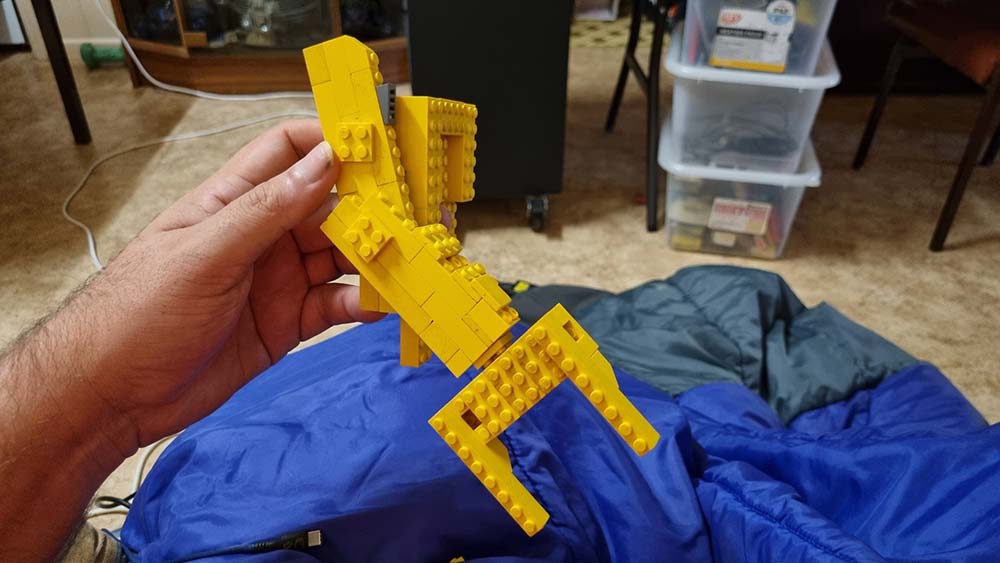
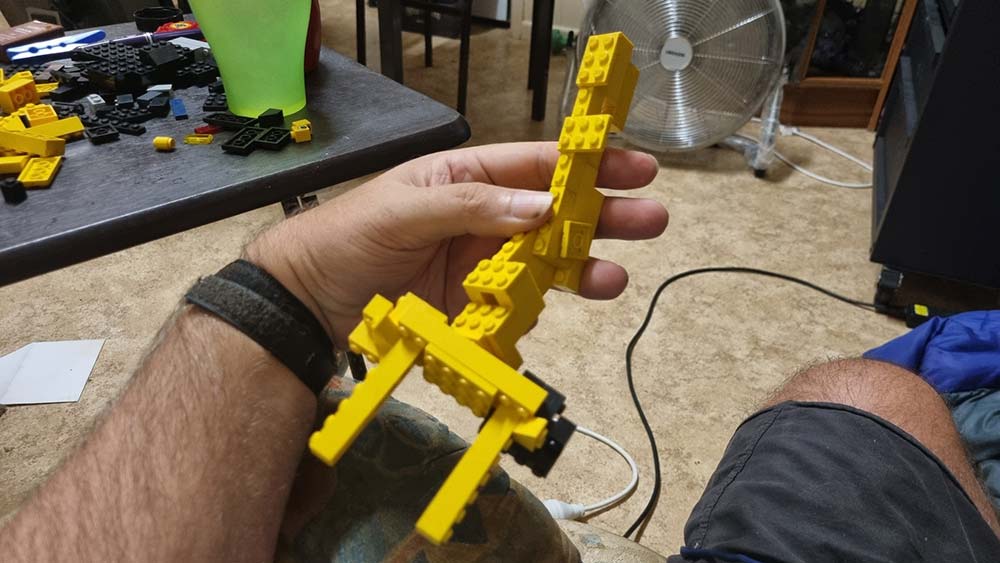
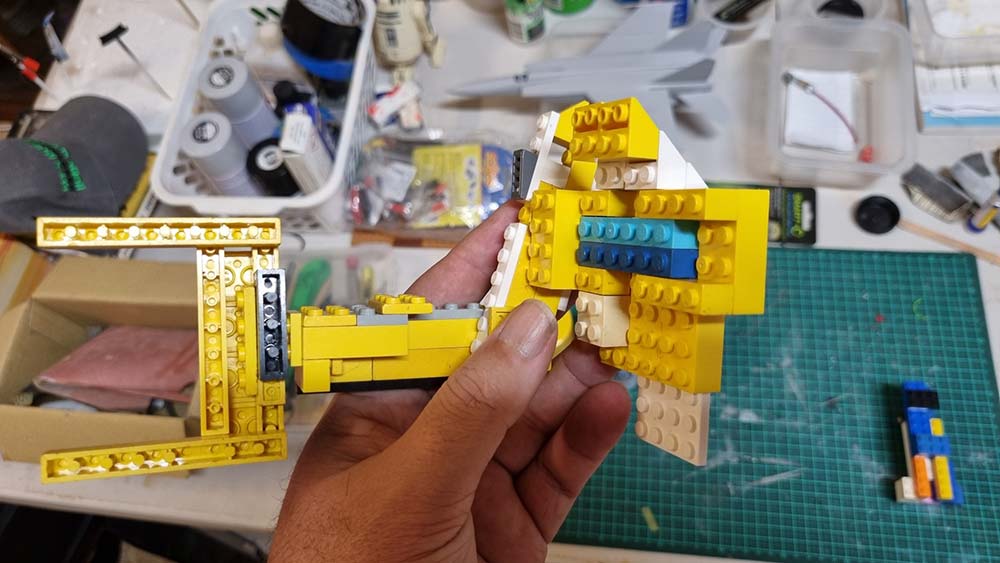
Some project progress photos are below:
Some models of the Power Loader I have seen on YouTube:
A Power Loader costume:
The REAL Hacksmith Industries Power Loader that they made:
Scenes from the Aliens movie:
![Power Loader scene from the movie - links to the YouTube video [click here]](https://www.jaydaniellsweb.com.au/wp-content/uploads/2023/10/power-loader-scene-movie.jpg)