I have enjoyed making scratch-built models since I was a kid. I used to mainly use cardboard and sometimes wood.
Recently I have started watching scratch-build model-making videos on YouTube. Here are some of the YouTube Channel Creators I have been watching:
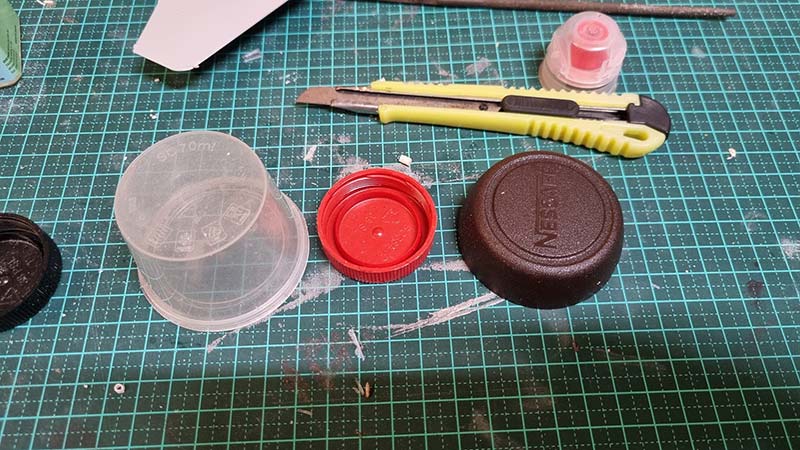
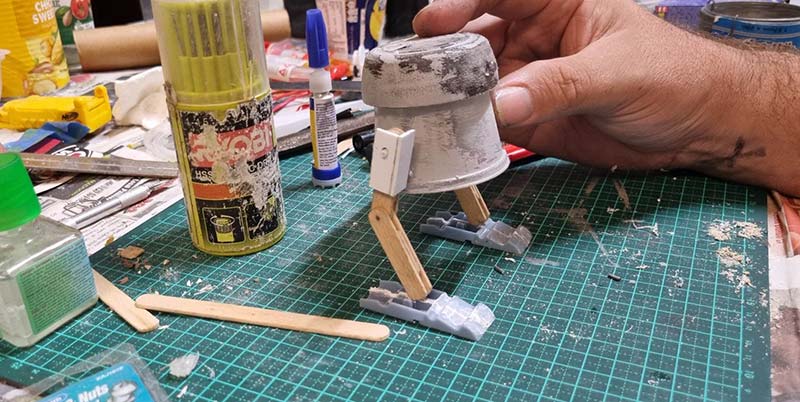
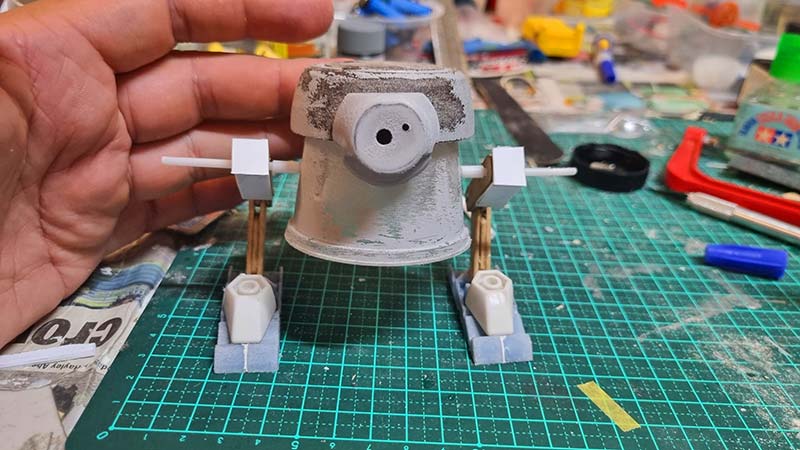
I then decided to make a little scratch-built robot.
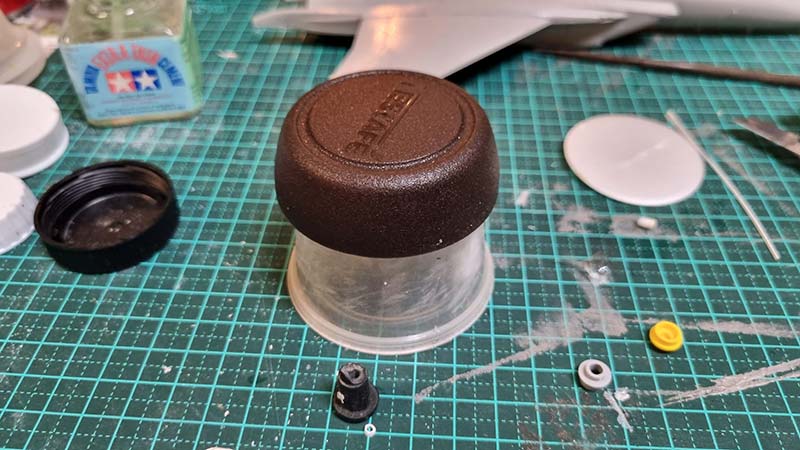
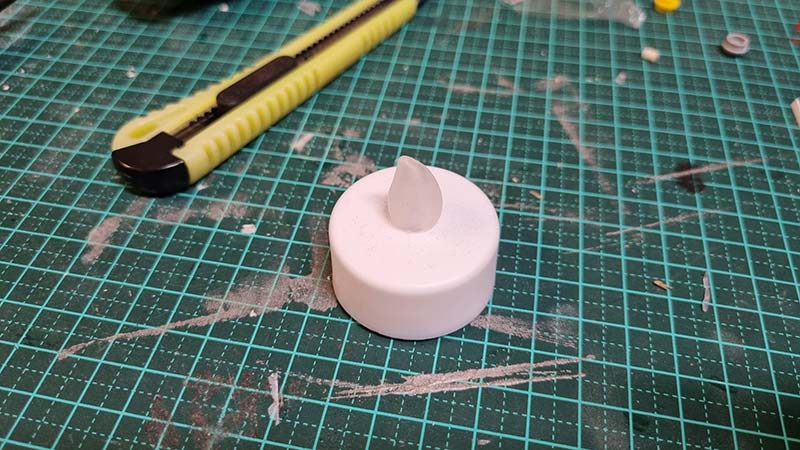
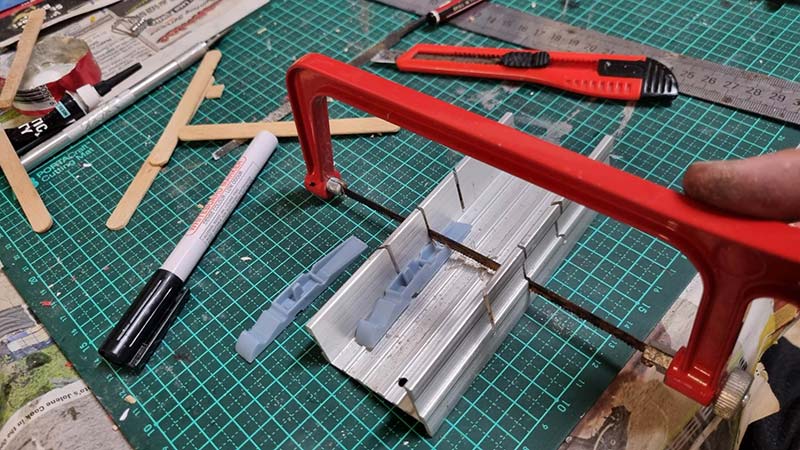
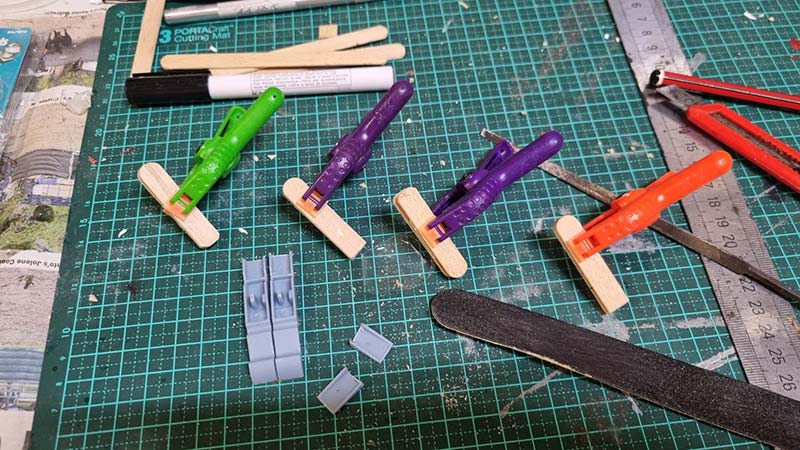
20/08/23: I did a bit more work on it today:
I feel this is a pretty cheap little project that kids would be able to make, with parents help. The parts are certainly cheap. There is a little bit of cost for the glues but not much. Plus a bit of cost to paint it (but that is optional).
Side note: I will be painting this model. I’ll be using the Airbrush, adding texture, and weathering and may apply a few decals to it… or may create stencils like I saw done in this video the other night:
[More progress pics of this robot project are below.]
There are a variety of ways to design a scratch-built model:
- A rigid plan: Do extensive planning and drawings first. Plus model it in 3D if you want to. Design the entire model before starting to build it.
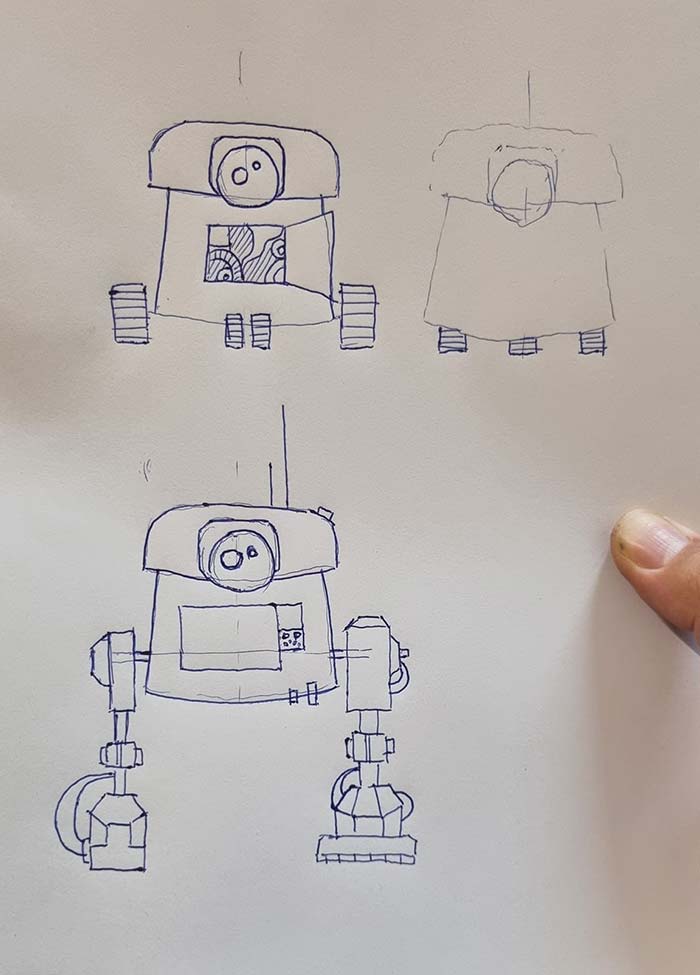
- Non-rigid and freestyle: Grab a few plastic bits, figure out how you want to glue them together, then have a look at what you have created. This becomes your ‘starting point’. Then draw the ‘starting point’. Then develop it into an actual model design. You can draw as many design versions/ concepts as you want. This process is very inventive and very fun! Then choose the design you want to build. I used this method for this little robot. I drew 2x quick sketch ideas (see below).
- You can even use a ‘roll the dice’ idea (see this in one of the below videos).
I will be collecting plastic parts now and into the future, so I can use them on other scratch-built model projects.
“One person’s trash is another person’s treasure.”
Once this robot is made I will paint it. I may also create a little diorama for it as well. It will be a simple diorama. It will be a round base and I might pose the robot with one leg on a rock or uneven surface. Not sure yet. Will depend on the silhouette I want it to have… and if I want to make it an ‘action shot’ or not.
Weapons:
I reckon this little robot will be a warrior robot vs a pack horse, surveillance droid or civilian usage robot. I’ll have machine gun cannons (or lasers) on each side, maybe some missiles and other things too.
I have not decided if it will be ‘excessively loaded’ with weapons or be more minimalist with ‘less is more’. Guess it’ll depend on the ‘law’ and ‘story’ I want to tell.
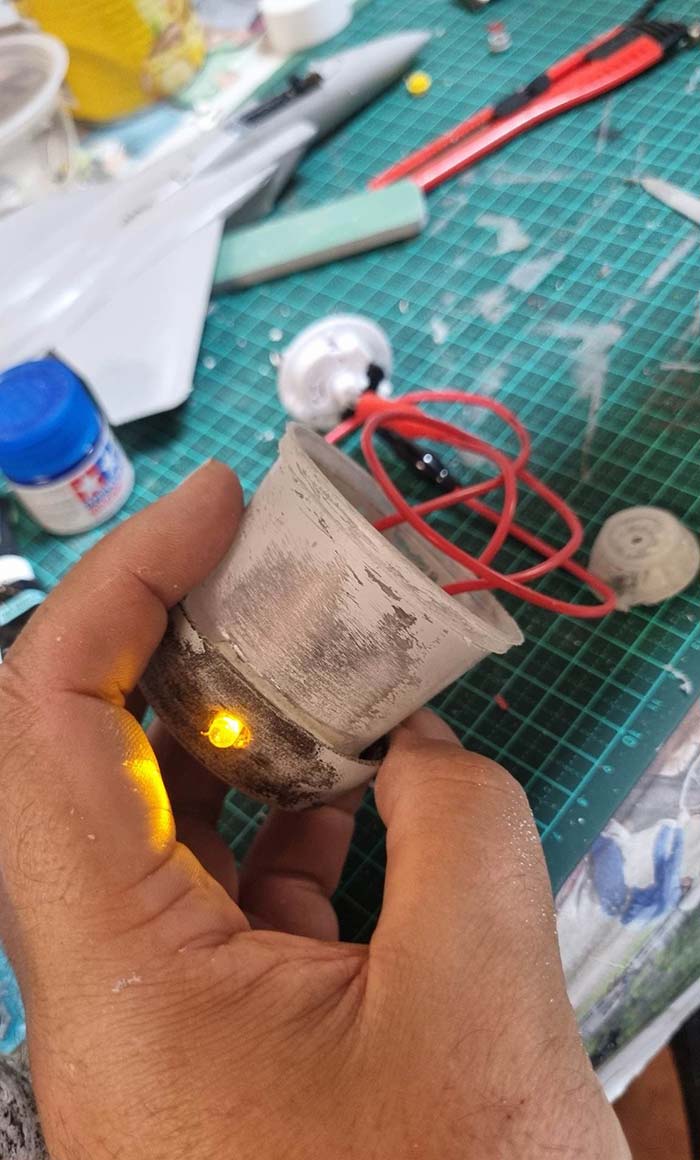
It’d be kind of neat if I used Fibre Optics to make it shoot laser beams or something too, but that might be a bit elaborate for this build.
Glues I am using:
Some plastics bond well with Super Glue (CA Glue), but others don’t.
For this model, I am using the following glues:
- Araldite to glue most pieces together. I leave gaps in the glue so I can add drops of Super Glue as well. This way each piece glues fast and stays connected quickly (due to the Super Glue), while the Araldite is drying. This is a common practice used by many craftspeople — it is very effective.
- I’m also using Super Glue with Baking Powder (Bi-Carb Soda) which is very strong when mixed (see the below video).
- For Styrene pieces I am using Tamiya Extra-Thin Cement
Putty I am using:
- Milliput Superfine 2-Part Self Hardening Putty (This putty is very hard and is great for adding structural strength, great for filling larger gaps, great for moulding into shapes when wet and great for shaping/carving/ filing/ sanding once dry.
- Vallejo 70401 Plastic Putty (This putty is quick to use and great for filling seam lines and small gaps. Excess putty can be wiped off to reduce the amount of filing and/or sanding once it is dry.)
Paint I am using:
- I will prime it with Tamiya Fine Surface Primer Grey. It will stick to most plastics and metals, once they are lightly sanded (‘toothed’) so the paint will stick.
- I will be painting this robot with Tamiya Acrylic Paint.
- I’ll be using my Airbrush to paint it. I’ll then use paint brushes and other techniques to add the weathering, rust, paint chipping, etc.
Decals:
I haven’t decided yet what decals I will put on it. I might buy a decal sheet, or maybe design and print my own.
I haven’t bought decal paper yet.
I don’t want this little robot to look ‘brand new’ like it’s just rolled off the assembly line. Instead, I want it to look ‘battle hardened’ – eg:
- Aged with some paint missing (paint chips)
- Maybe a bit of rust (but not much)
- Maybe marks, dints, bullet holes and/ or scratches where bullets have hit it.
It’d even be neat if one leg was painted a different colour, to show that it has lost a leg in battle and a replacement leg has been quickly added.
OR even show some kind of repair done ‘on the field’ where a missile has hit it or something.
Could take the idea a WHOLE lot further too and build an entire ‘battle board’/ battle scene where many of these robots are fighting the ‘enemy’. Eg:
- Some could be shooting in the air
- Some could be hobbling barely able to stand
- Some could be laying down (and/or on an angle or even up-side-down) and/or half buried in rubble to show that they have been ‘blown up’.
- Some could even be upside down, not yet dead and be kicking their legs (trying to get themselves upright). I designed this little robot to be ‘whimsical’, comical, humourous and funny-looking. Therefore a commercial battle scene would be neat!
- The ‘enemy’ could also be added to the scene. The enemy would need to look quite different so they contrast with these robots. The enemy could even be humans… OR biped organic creatures from some other planet (or dimension)?? This whole idea could then be inspiration for a storybook, toy line, novel, comic, animation and/or movie.
The point is, one simple little creative scratch-built robot design (model), can be expanded into MANY things. This is one way creative new (and fresh) ideas can be formed.
Here’s a tip for any youth or kid who reads this blog post: If you write stories (law) about the things you create and invent, you may surprise yourself as to how creative you become as a ‘story-teller’. The more you practice, the more imaginative and creative you will become.